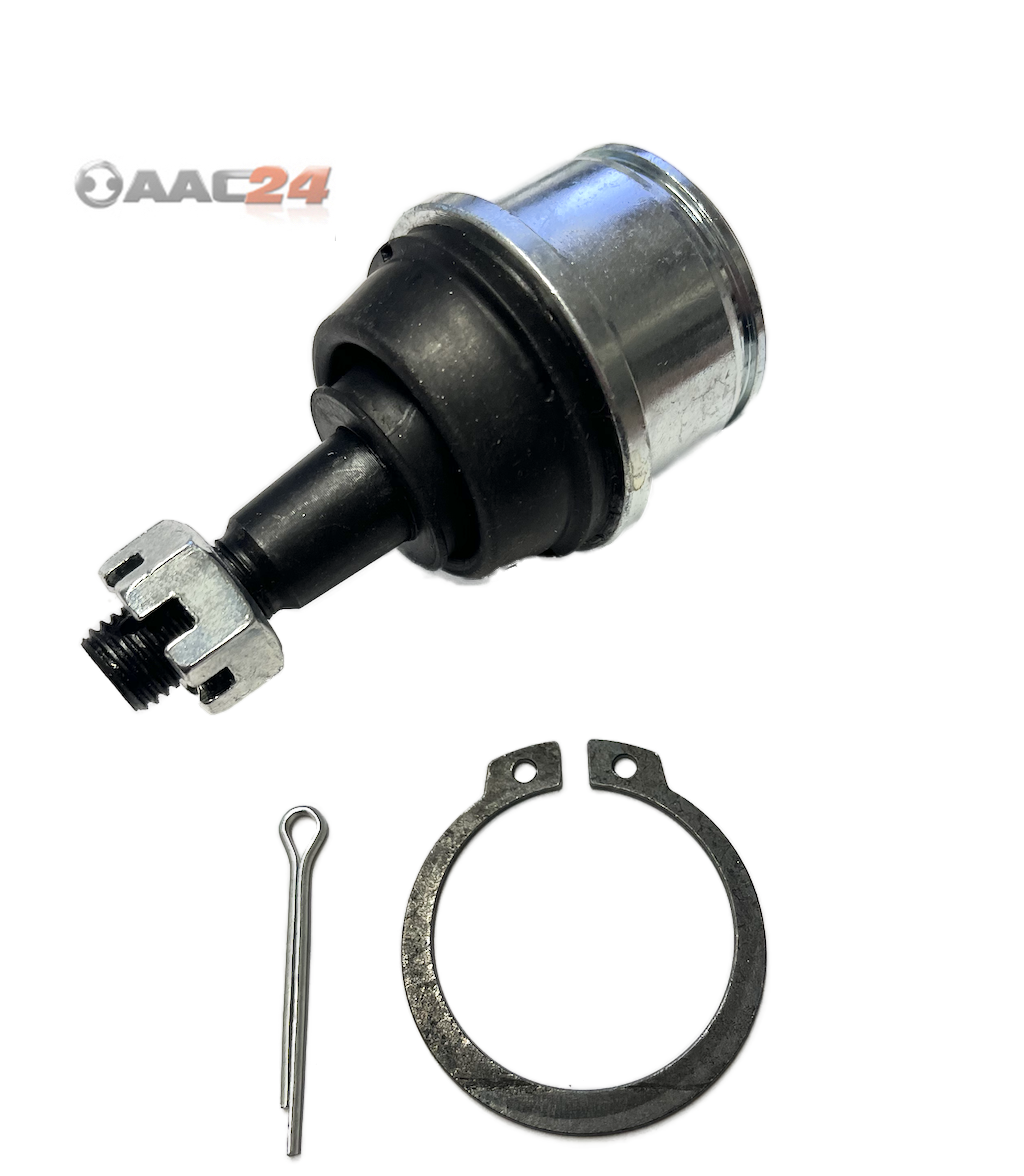
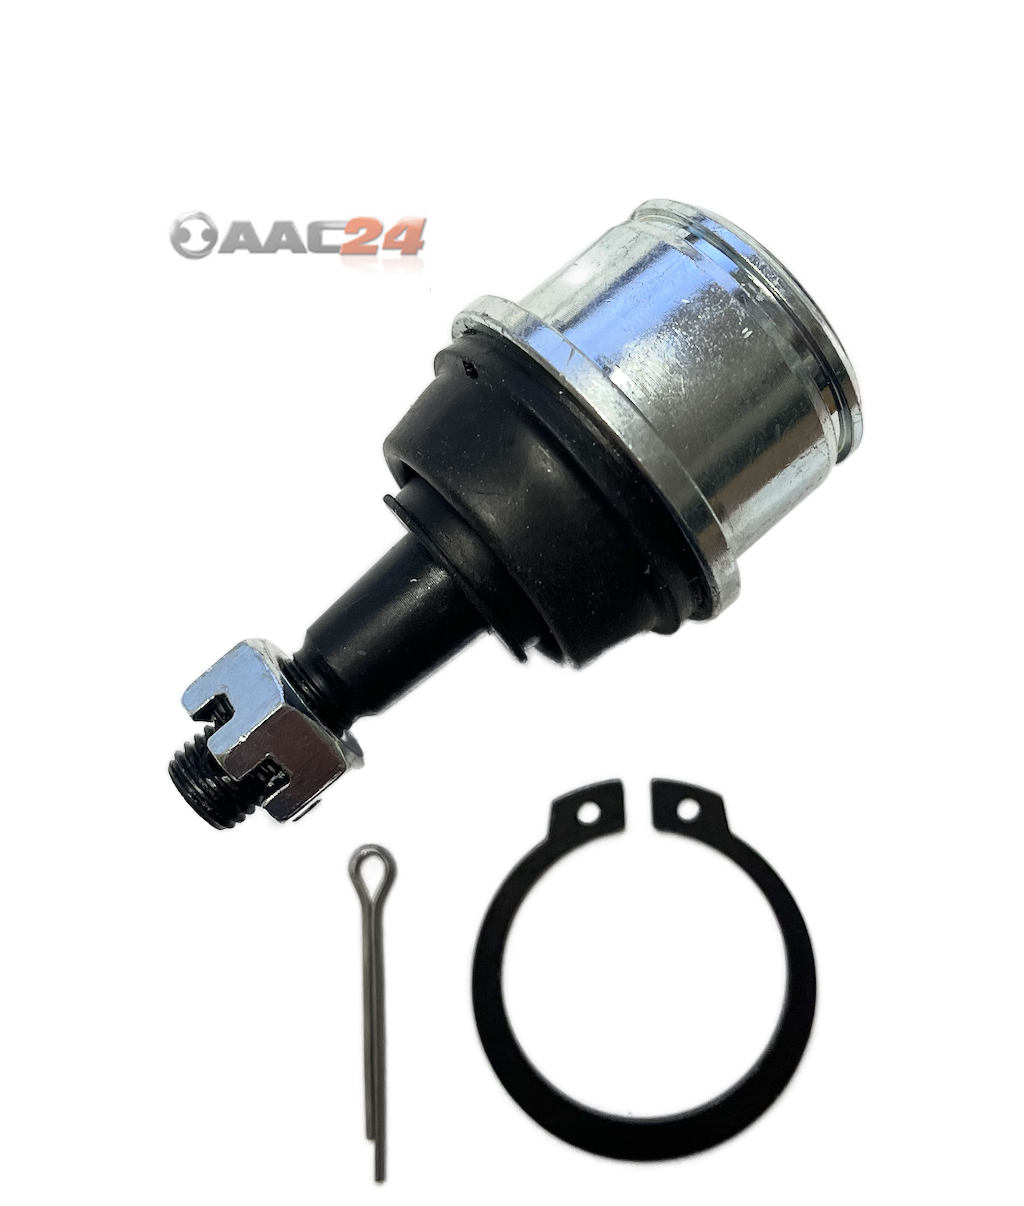
Heavy-Duty Upper Ball Joint Assembly – Restores front axle stability and steering accuracy
Restore crisp steering feedback and front-end stability to your ATV! This Heavy-Duty Upper A-Arm Ball Joint is engineered specifically for the front suspension of the Segway Snarler AT5 (AT05) and AT6 lineup. It provides a secure, flexible connection between the upper control arm and the steering knuckle, allowing smooth vertical suspension travel and responsive steering.
Off-road utility riding subjects ball joints to continuous pounding from rocks, ruts, and mud. Worn ball joints create front-end clunking noises, steering wander, and uneven tire wear. Replacing a sloppy ball joint restores tight factory geometry and prevents dangerous joint separation.
Technical Specifications & Details
Component: Upper Control Arm Ball Joint / Traggelenk.
Placement: Front Axle, Upper Position (Fits both left and right sides).
Material: Forged high-tensile steel with heat-treated ball stud.
Protection: Sealed heavy-duty rubber boot pre-packed with grease to resist water and grit.
Features: High pull-out strength, precise press-fit housing, anti-corrosion coating.
Compatibility: Designed specifically for Segway ATV Models:
Visual Check: Prior to installation, perform a visual check. Measure the housing press-fit diameter, stud taper, and retaining ring groove against your original component.
Proper Press Tooling: Use a suitable ball joint press or workshop press to remove and install the joint. Never hit the ball stud directly with a steel hammer, as this will damage internal seats.
Secure Retaining Ring & Cotter Pin: Always ensure the snap ring is fully seated in its groove after pressing. Tighten the castle nut to factory torque and secure it with a new cotter pin.
Related links to "Upper A-Arm Ball Joint for Segway Snarler AT5 / AT05 & AT6 OEM A01D11010001"